- Published
How I Set Up a WordPress Site
目錄
Note: This post is translated by AI. If you find any unnatural phrasing or errors, please feel free to contact me via email or other channels. Your feedback is appreciated!
Last year I handled several large WordPress sites at work. I'm here to record and share the WordPress hosting strategy I learned.
This site will also be changed to WordPress later. After changing, I will come back to share why and how I did it.

WordPress.com vs WordPress.org
First, let's talk about the two official plans. As an engineer, I always only knew WordPress.org. I only found out about WordPress.com when a friend asked me a while ago.
WordPress.com is a fully managed service provided by Automattic. You can create a website just by clicking on the web page. But relatively, the freedom is extremely low, customization of themes is difficult, many plugins cannot be used, and the free version is so basic that you must pay.
WordPress.org allows you to download open source WordPress software. You can deploy it according to your needs, with almost no restrictions—install plugins, modify themes, or perform various magical customizations freely. But you have to manage the server, updates and backups yourself.
However, there are many integration solutions for WordPress.org on the market to simplify the process. It's not necessary to find an engineer to do it. And I have a hunch that people using WordPress.com will sooner or later switch because there are too many restrictions and it's not cheap.
This article also uses WordPress.org. It requires knowing a little technology, but I will try to explain the process clearly.
WordPress.org Hosting Plans on the Market
I haven't used the ones introduced here, but I can analyze the price and some preliminary observations.
1. Traditional Virtual Host (e.g. BlueHost)
The basic fee is 2.95 USD/month (NTD 95/month). You can set up the website very quickly, and you can also buy the website domain directly inside.
But you will encounter problems similar to WordPress.com. It is difficult to adjust when the server has problems. If there is a problem, you have to contact customer service directly, and it is not very easy to maintain.
2. Cloud Platform Hosting
AWS Lightsail
You can set it up by clicking on AWS. The basic plan is 3.5 USD/month (NTD 113/month).
I also use AWS, but I build EC2 myself, which will be introduced below.
Google Cloud Platform
Using WordPress on Google Cloud
GCP also provides integration solutions for WordPress deployment, but it is super expensive, starting from 13.17 USD/month (NTD 427/month), and setting up is not as easy as AWS Lightsail.
Tech Stack I Chose
I later adopted AWS EC2 for deployment, Easy Engine for management, and Cloudflare for domain registration and DNS.
EasyEngine can be downloaded directly, Cloudflare can also use the free plan first, AWS EC2 basically uses the free plan, but the hard disk capacity requires payment to upgrade the EBS associated with EC2 to 16 GiB, so there will be a monthly fee of 1.28 USD (about NTD 41/month).
According to AWS EBS pricing, for a 16 GiB gp3 volume:
- Storage cost: 0.08/GB-month × 16 GB = 1.28/month
- IOPS cost: 0 (using included 3,000 IOPS)
- Throughput cost: 0 (using included 125 MB/s) Total monthly cost: $1.28 (USD)
Although you have to manage it yourself, the cost can be saved directly. The server fee and management fee for this kind of website setup are equivalent to rent and building management fee, so of course the monthly fee should be as low as possible.
Setup Steps
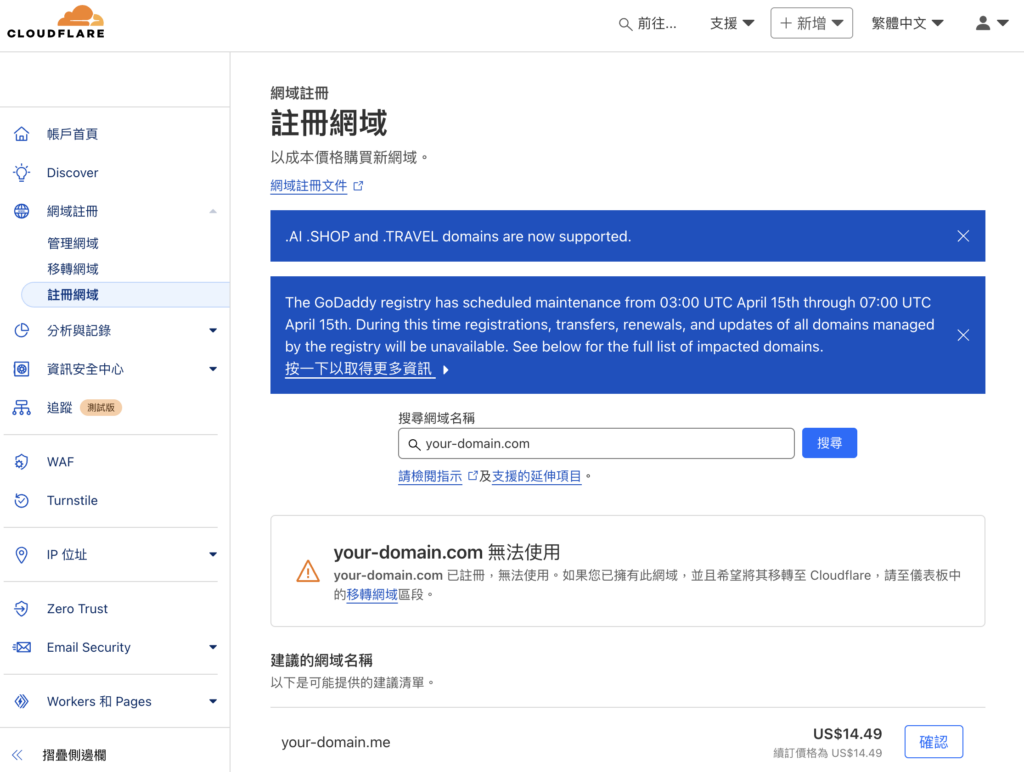
1. Register Domain and Set DNS
I used to register (buy) domains with GoDaddy, but now I use Cloudflare because it is better to manage and cheaper (my domain costs NTD 1600/year at GoDaddy, but transferring to Cloudflare only costs NTD 900/year).
First log in to Cloudflare backend and you can start searching for the domain you want to register.
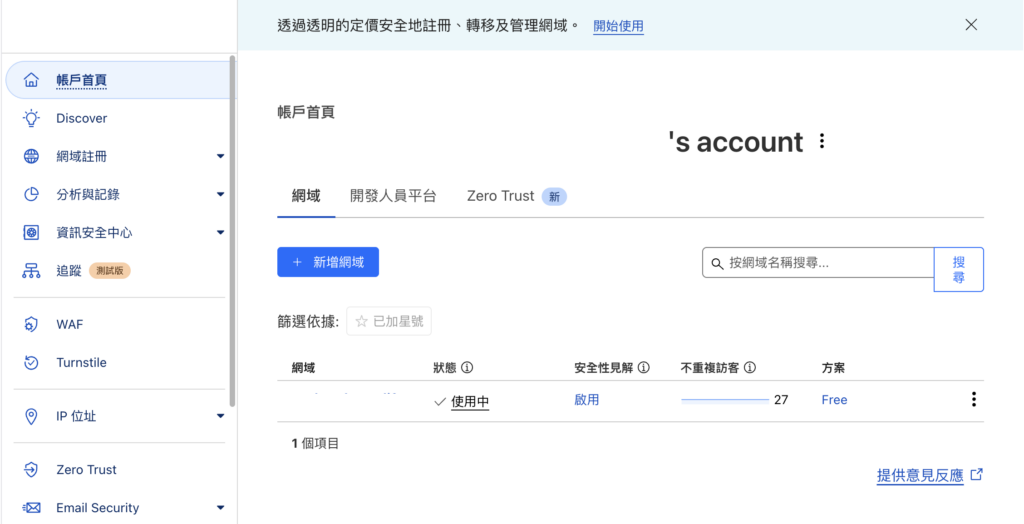
Then go to the account home page and the newly registered domain will appear.
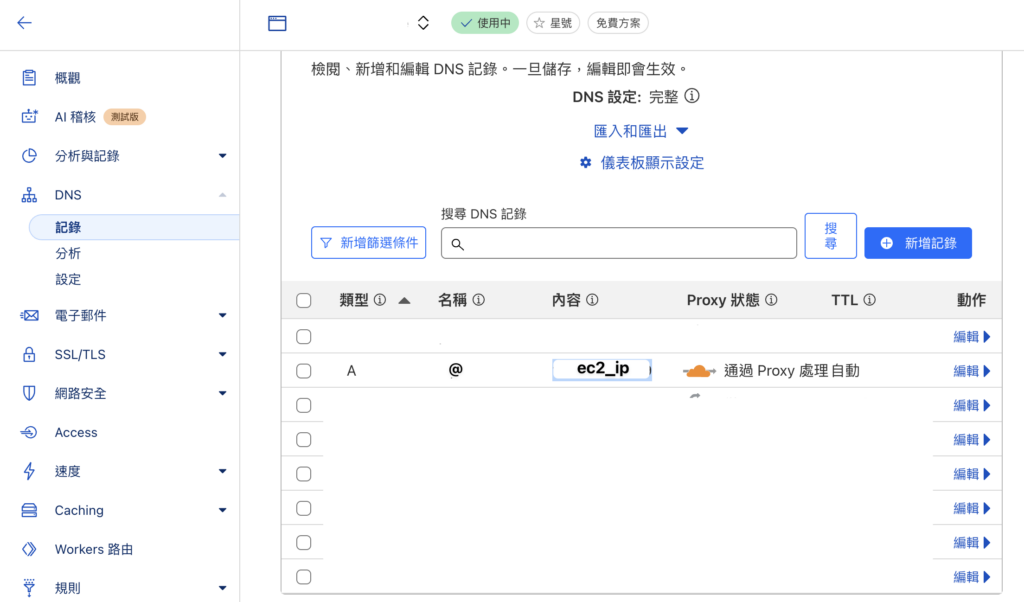
Finally, paste the Public IP from the EC2 Connect page just now to set an A Record.
Use @ for name to represent usage for the entire domain. If you write a string, you can redirect to a subdomain.
Assuming the domain name is your-domain.com, A record can be set like this:
@: Indicates ec2_ip connects to your-domain.comtest: Indicates ec2_ip connects to test.your-domain.com
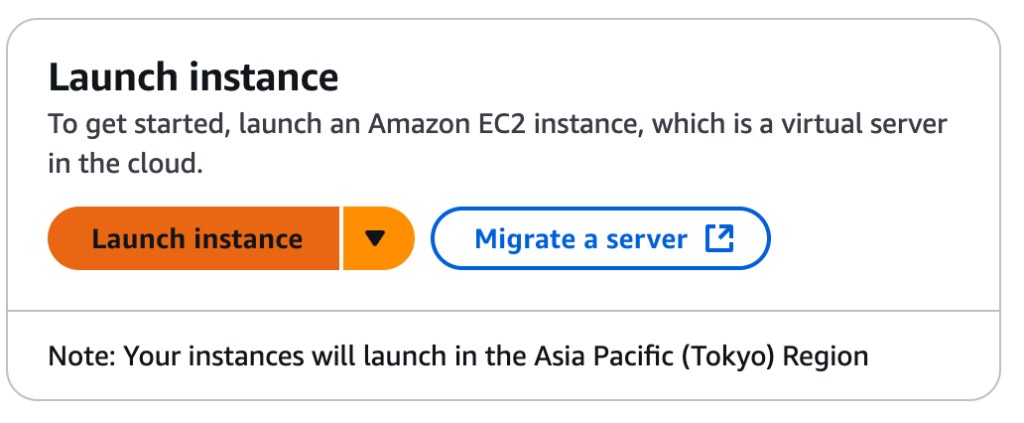
2. Create AWS EC2 Instance
After logging in to AWS, go to the EC2 page and create an EC2 Instance.
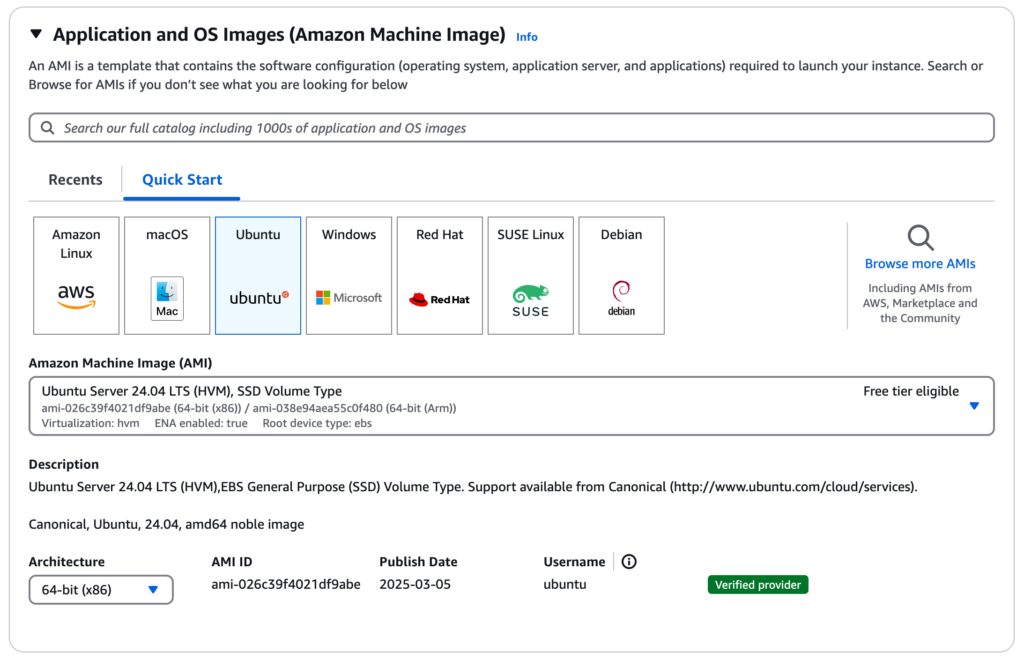
2-1. Choose Ubuntu as OS
2-2. Create or Select Key Pair at Key Pair place

If created, a key file $ssh_key.pem will be generated which can be downloaded.
You will need it when executing ssh locally.
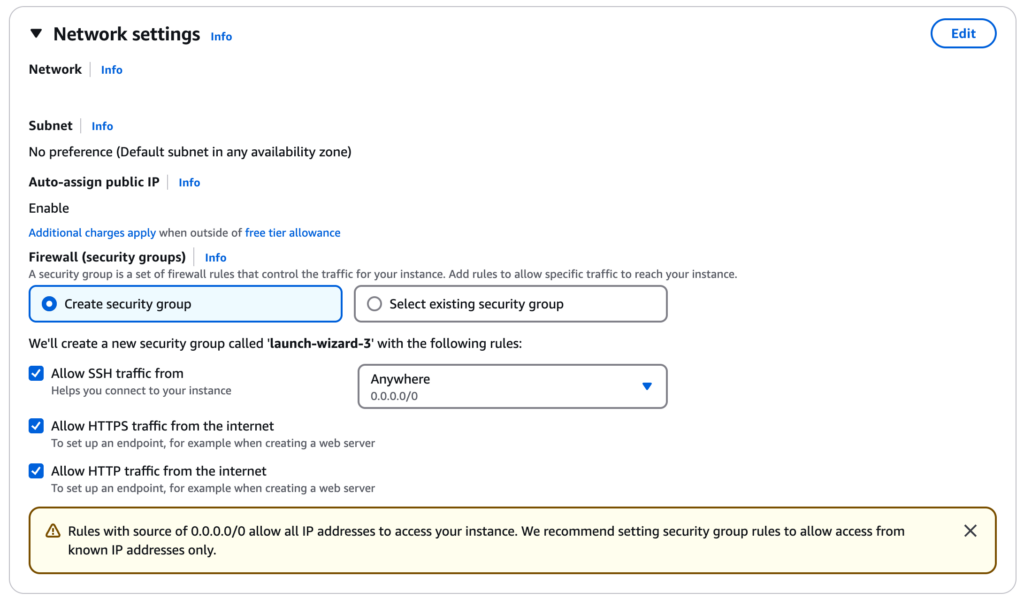
2-3. Network Settings
Open SSH, HTTP (80) and HTTPS (443) ports in EC2 security group, the three Allow buttons in the figure below.
2-4. Adjust Disk Capacity
Because EasyEngine will be installed later, at least 5GB of disk space is required, so it needs to be upgraded to 16 GiB.
You can set it in this block on the EC2 creation page:
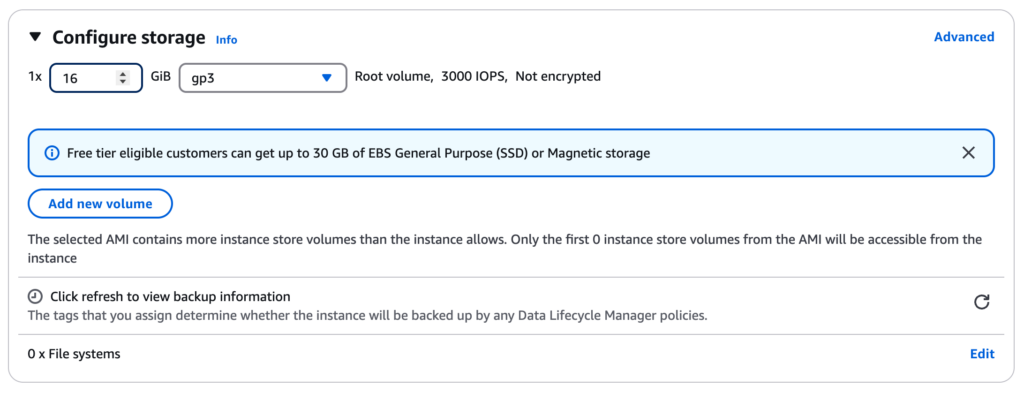
If you chose 8GiB like me first and encountered: EasyEngine update requires minimum 5GB disk space to run, you can find the corresponding Volume of the current instance in EC2 Dashboard, and then click modify.
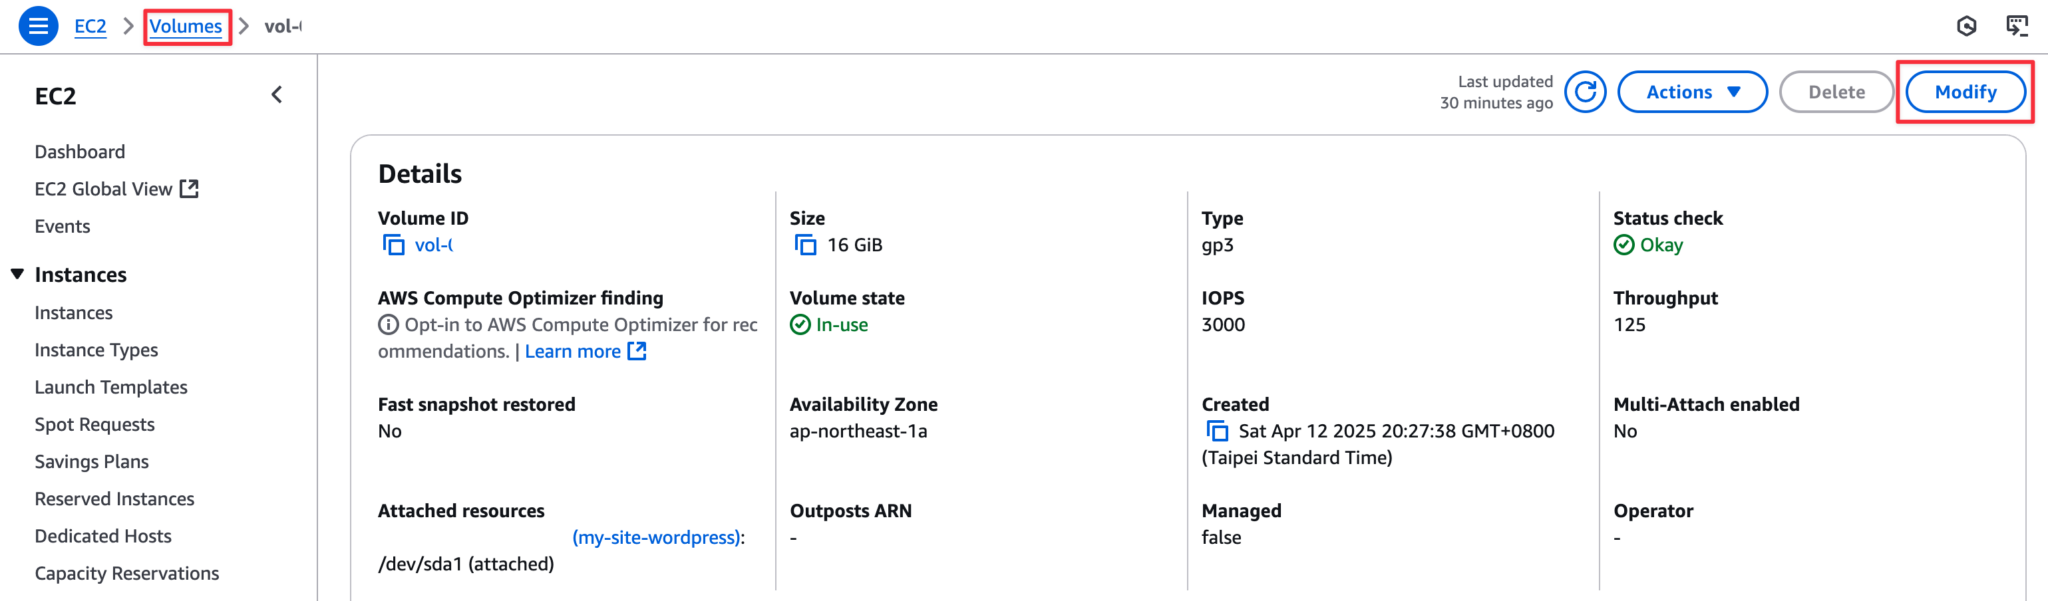
After upgrading, SSH into EC2's ubuntu and run this command sudo resize2fs /dev/xvda1 (you can run df -h again to check capacity).
3. Install Easy Engine and WordPress
The subtitle of EasyEngine is Easy WordPress on Nginx. As the name suggests, it provides a Docker-based WordPress environment and uses nginx as Web Server.
First find Connect on EC2 Instance page:

After clicking in, directly copy the line below, but remember to execute this command in the place where you store your ssh key pem.
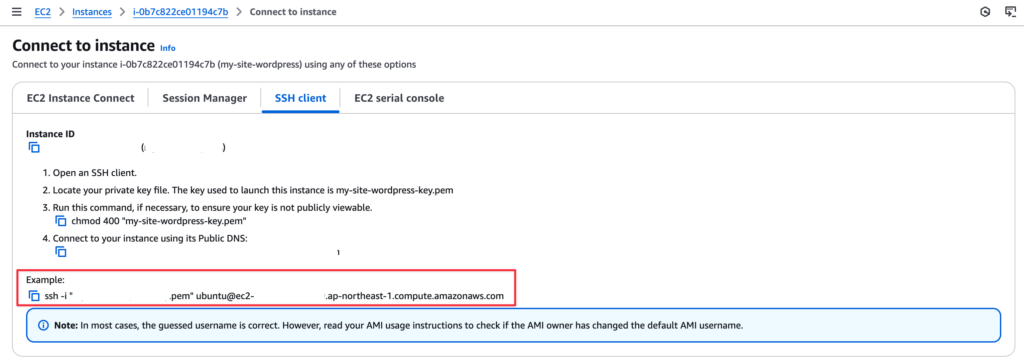
Like my pem is stored under an ssh folder, after opening terminal and entering the command to connect, it will look like this:
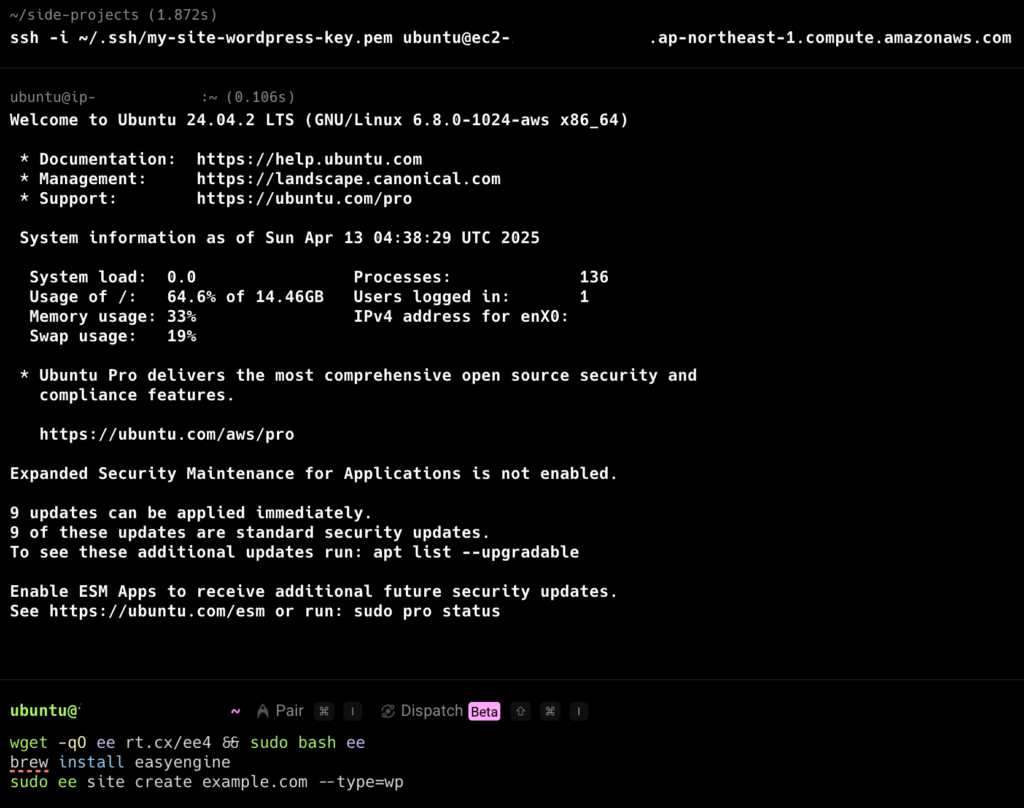
brew install easyengine in the picture above is for Mac, I forgot to delete it. EC2 ubuntu only needs the first line to install.
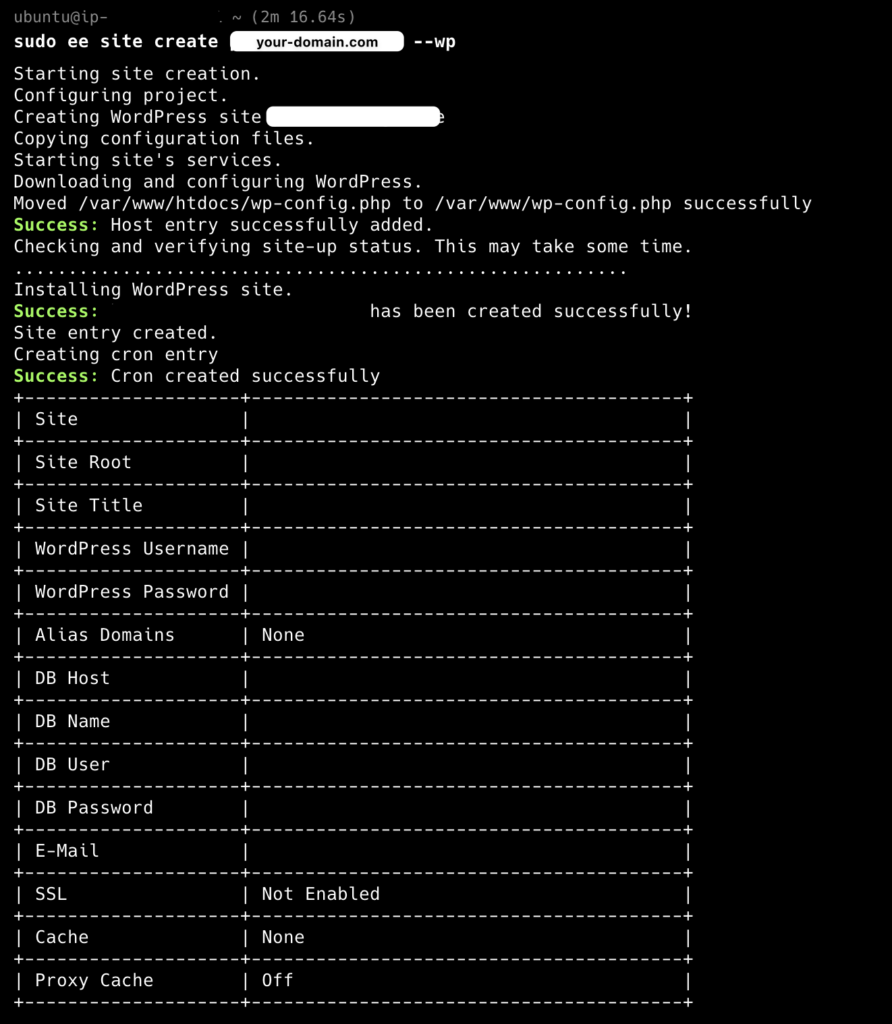
When EasyEngine executes ee site create example.com --wp, it sets virtual host through domain (e.g. example.com), so there must be a usable domain. It is best to set up Domain and DNS in the first step. You cannot directly type http://<EC2_IP>/wp-admin, Nginx will return default page or 404.
# Install EasyEngine on Linux
wget -qO ee rt.cx/ee4 && sudo bash ee

# Create a site at example.com with WordPress
sudo ee site create example.com --wp
After seeing such a screen, WordPress is created!
Quick Review of Setup Process
Register a domain in Cloudflare (e.g. your-domain.com)
Create EC2 Instance:
- Use Ubuntu system
- Ensure 16GiB storage space
- Open HTTP and HTTPS ports and set SSH key pair
Connect to EC2 via SSH, install Easy Engine
Use
ee site create your-domain.com --wpto create WordPress sitePoint domain to EC2's Public IP in Cloudflare DNS (Set A Record)
Done! Now you can directly connect to your-domain.com and your-domain.com/wp-admin
Conclusion
Personally I feel this WordPress deployment combination is quite easy to use. Large traffic can also be handled through adjustments in various aspects.
Server management such as upgrading hard disk is in EC2, WordPress management can use easy engine CLI, and domain related management can go through Cloudflare.
After traffic comes up, you can turn on Cloudflare Cache, then also turn on nginx cache in easy engine, and gradually upgrade the service.
This article only mentioned the setup of WordPress, but after successfully setting it up, you still have to adjust WordPress themes and install various plugins. I will share it later when I have time.
murmur
Writing technical articles after a year and a half is quite tiring, but I feel it's a pity that many notes are lying in Heptabase, so I'd better organize them and publish them slowly, and review them by the way.
Ideally writing WordPress this time, I have been hesitating whether to write for ordinary people or engineers, and how much to explain. This article seems to explain too much for engineers, but may be very vague for ordinary people to read. But the original intention is to publish the notes, so be it! I will slowly grasp the rhythm later.
Recently, non-engineer friends asked me how to set it up. I feel they might still not adopt this approach after reading it XD.
After AI, I am also pondering the meaning of technical blogs, but I still read articles, so writing them out should still be meaningful.
And if I record it as a note, it usually means I couldn't solve the problem directly with AI at that time, and needed to record keywords and queries in the process. This whole process is that AI easily starts hallucinating or losing context halfway through answering (like asking about packages, AI often hallucinates many non-existent packages).
If a lot of knowledge is compiled in the form of articles and books, the absorption efficiency will still be much faster. Thinking of learning Java recently, I was very afraid of learning wrong when learning with AI, but AI occasionally pops up some keywords I don't know. I can check articles written by others with complete context through these keywords. I also found the Java series articles written by "Example" (Liang GeGe) following the clues. The learning efficiency of reading such well-written articles is still much better than asking randomly on AI.